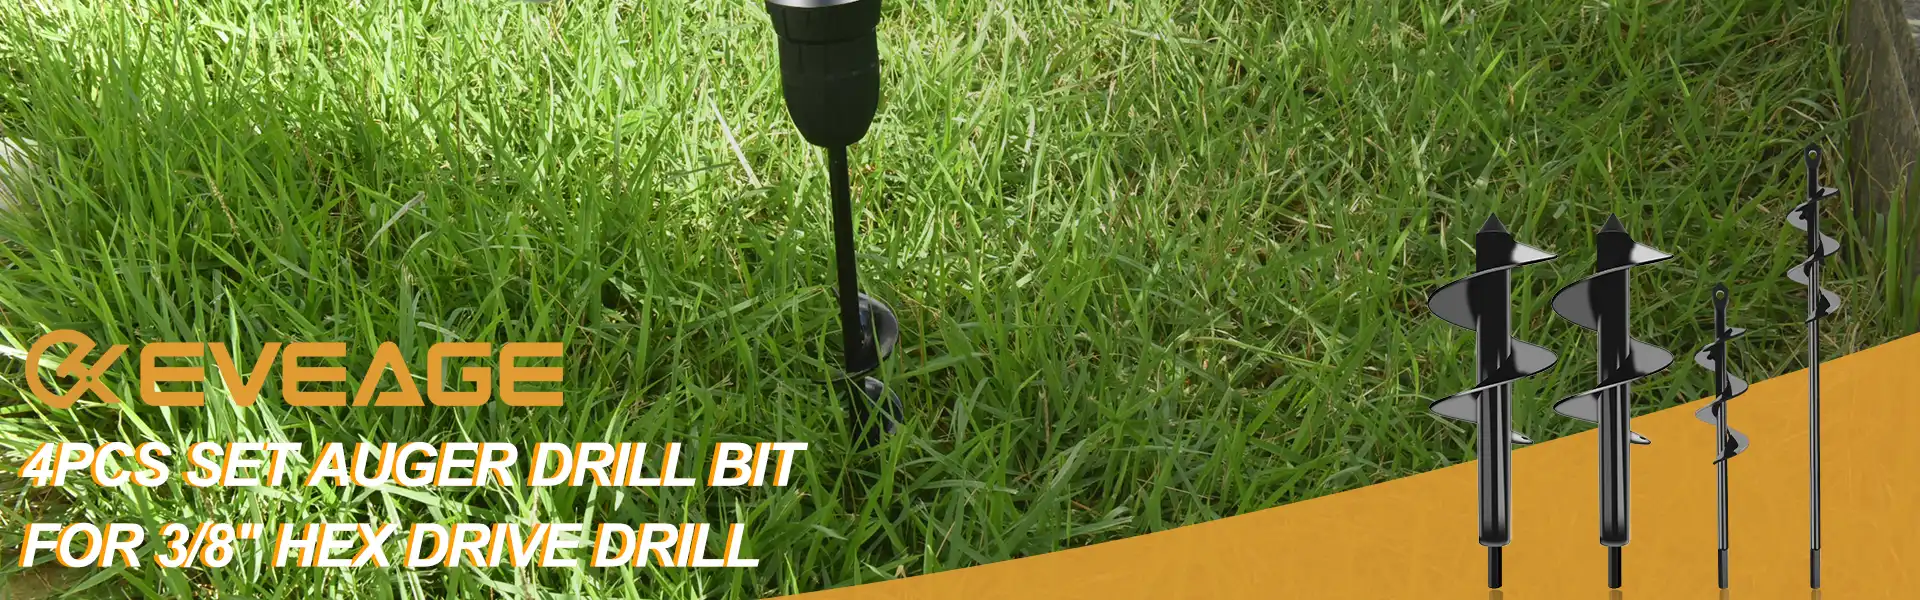
Introduction
You need to drill into hard soil if you want to plant a tree or shrub, but you don’t want to use an axe or picket. Instead of using those tools that require lots of physical strength, you should use an auger drill bit. This article will give you step-by-step instructions on how to do this task yourself without hiring any professional help in your home garden.
Step 1. Check what type of soil you have in your garden
Before beginning any digging project, it’s important to know what kind of soil you’re dealing with. The following list of characteristics can help you identify the type of soil in your garden:
-
Soil type (clay, loam, sand)
-
Soil consistency (cohesive or sandy)
-
Soil moisture content and drainage rate (wet or dry)
Step 2. Buy the right auger drill bit for your garden
To make sure you choose the right auger drill bit, there are a few key considerations to keep in mind:
-
The size of your garden. If you have a small garden, then it will probably be best to buy a small auger drill bit. Likewise, if you have a large garden or lawn area that needs to be tilled, then go for one with more power and torque.
-
The length of your gardens and soil types. In general, longer auger drill bits are better suited for hard soil while shorter ones work better on softer ground such as loam or peat moss. If you have soft soil like clay, however, then shorter auger bits are preferable because they tend not to get stuck as easily as longer ones do when working through compacted earth (which can cause damage).
-
Diameter matters too! Smaller diameter augers are good for smaller jobs whereas bigger diameters require more horsepower but will allow faster penetration into tougher materials like clay or slate rock beds where others might fail altogether without breaking first.”
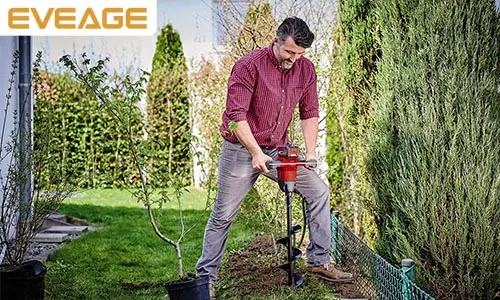
Step 3. Auger drill bit installation
-
You will need to install the auger bit into your drill.
-
Next, install the drill bit into the drill.
-
Then you’ll want to install the drill bit into the auger bit.
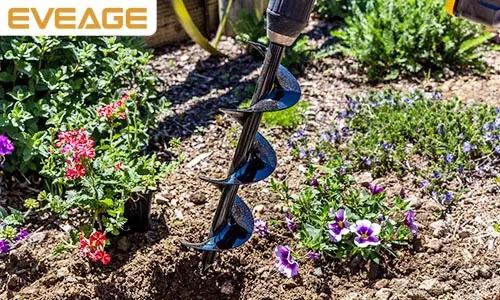
Step 4. Watering the ground where you will be drilling
Watering the ground where you will be drilling is essential to ensure that your auger drill bit can penetrate the soil. This will reduce friction between the auger drill bit and soil, allowing for an easier penetration and less chance of damage. Watering should be done before drilling because once holes have been made in your lawn, watering will be much more difficult.
Step 5. Add lubricant to the ground at the point where you are planning to drill
Before you begin drilling, you should add lubricant to the ground at the point where you are planning to drill. This step is important because adding lubricant to your auger drill bit will keep it from getting stuck in hard soil and prevent damage to the auger drill bit. You can add lubricant before or after digging into a hard soil surface, but we recommend that you do so before beginning as this will help ensure that your auger drill bit will not get stuck and be damaged as it attempts to penetrate through tough ground.
Lubricants such as motor oil work well for this purpose because they are easy to apply and do not require any special equipment, however if possible it may be better for your health if you use something else like vegetable oil instead since motor oil has some hazardous chemicals inside of it which could harm those who breathe them in too closely or come into contact with them directly on their skin (oil spills).
Step 6. Mark out the spots where you need to drill
To mark out the holes, you’ll need to use a tape measure. You can also use a compass and ruler for this step, but if you’re working with hard soil and have trouble finding your center point, then it may be easier for you just to use a tape measure.
You want to make sure that your markings are even across both sides of each hole (if there are two sets of holes). This will ensure that when they’re drilled through their respective depths into the ground, they’ll all be at equal angles from each other. If one side is lower than another due to unevenness in soil conditions or because someone dug into an area where they hadn’t been previously cleared off by previous diggers’ drills (like I did), then those areas won’t line up properly with their counterparts on either side!
Step 7. Drill into the soil slowly, applying just enough pressure to ensure that it penetrates the ground without burning up too much power or breaking down your gardening equipment and tools.
-
Drill into the soil slowly, applying just enough pressure to ensure that it penetrates the ground without burning up too much power or breaking down your gardening equipment and tools.
If you’re drilling into hard soil, this will be a careful balancing act: You want to apply enough pressure that your drill bit doesn’t bounce around excessively while also not exerting so much force on it that you risk damaging its components or heating them excessively (either of which could cause damage). It’s also important not to get too close to the surface with your drill bit as doing so can create air pockets in between layers of dirt and make it hard for plants later on; at the same time, don’t go too far down either—you don’t want there being no contact at all!
Step 8. Remove the auger and install support poles or netting on it, if applicable
The next step is to remove the auger and install support poles or netting on it, if applicable.
-
Remove the auger head from your DIY soil boring machine’s body.
-
If you have a cast-iron auger head, attach it to one of your rods and then pull it out of its hole by hand or with a rope tied around the rod.
-
If you have an aluminum head, remove its screws with an Allen wrench and pull it off as well. (You don’t need to worry about losing any screws—the manufacturer will send replacements with some other parts.)
-
Install support poles or netting on your DIY soil boring machine’s body if needed: You may need additional support if you’re drilling in hard soil or rocks; these materials tend not to be strong enough by themselves for this type of drilling operation.
Take a look at the following steps on how to drill into hard soil using an auger drill bit
-
You will need to take a look at your garden soil. You want to make sure that you buy the right type of auger drill bit for your garden.
-
Install the auger drill bit into the hole saw by tightening it in place with a wrench or pliers.
-
Dig out a hole in the ground where you plan on drilling into hard soil and fill it with water so that all of the loose dirt is washed away from underneath where you will be drilling. This helps prevent clogging up your auger drill bit with too much dirt while drilling through hard soil, which can cause damage to both yourself as well as any machinery used during this process.
Here’s what we do: After digging out our holes and filling them with water (which gets rid of all loose material), we add some lubricant–like WD-40–to our point of entry before turning on our machine.
Conclusion
We hope this article has helped you understand what it takes to drill into hard soil. If you have any questions about the process, please feel free to contact us at our offices or give us a Email at [email protected].